Solrをインストールする
Solrのインストールから起動までの手順を記載しています。バージョンは「8.0.0」になります
動作環境
- Windows 10 pro [Windows 10 October Update (Version 1809) ]
- Windows Subsystem for Linux
- Ubuntu 18.04.2 LTS (Bionic Beaver)
Solrのインストール
Solrの公式ページの「DOWNLOAD」より、ダウンロードページへ移動します


「We suggest the following mirror site for your download:」の下におすすめのリンクがあるのでクリックして移動します

zipもしくはtarアーカイブファイルを選んでダウンロードします
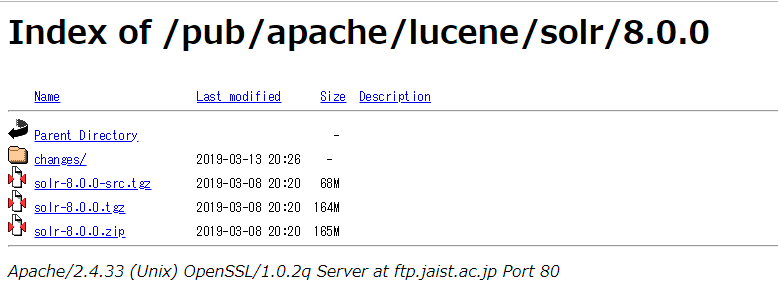
wgetでインストールする
[root@hostname /]$wget http://ftp.kddilabs.jp/infosystems/apache/lucene/solr/8.0.0/solr-8.0.0.tgz
ダウンロードしたファイルを任意の場所に解凍します
[root@hostname /]$tar xvzf solr-8.0.0.tgz
Javaのインストール
Solrを実行するには、Javaが必要になるので次のコマンドでJavaをインストールします
[root@hostname /]$apt-get -y install default-jre
Solrの起動
Javaのインストールが完了したら、Solrを次のコマンドで起動してみます
[root@hostname /]$solr-8.0.0/bin/solr start
*** [WARN] *** Your open file limit is currently 1024.
 It should be set to 65000 to avoid operational disruption.
 If you no longer wish to see this warning, set SOLR_ULIMIT_CHECKS to false in your profile or solr.in.sh
*** [WARN] ***  Your Max Processes Limit is currently 7823.
 It should be set to 65000 to avoid operational disruption.
 If you no longer wish to see this warning, set SOLR_ULIMIT_CHECKS to false in your profile or solr.in.sh
Waiting up to 180 seconds to see Solr running on port 8983 [\]
webブラウザーで「http://localhost:8983/solr」を開きます
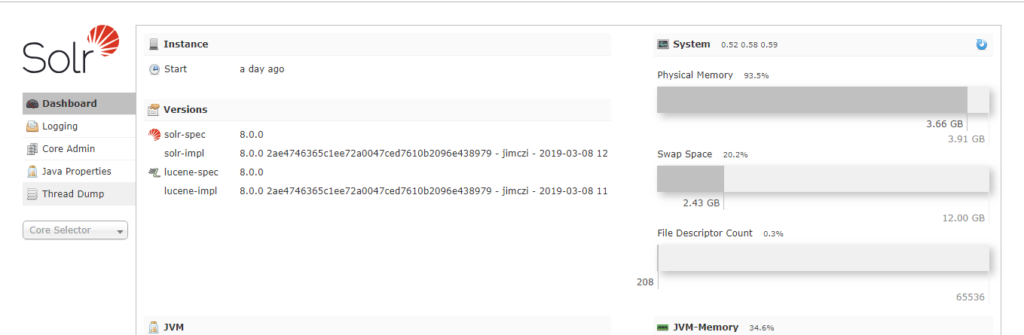
上記のような画面が表示されていればインストール完了です
Solrの主なコマンド
| コマンド | |
|---|---|
| 起動 | solr-x.x.x/bin/solr start |
| 終了 | solr-x.x.x/bin/solr stop |
| ステータスの表示 | solr-x.x.x/bin/solr status |
| コアの作成 | solr-x.x.x/bin/solr create -c [コア名] |
| コアの削除 | solr-x.x.x/bin/solr delete -c [コア名] |