Ubuntuにnginxをインストールする
Ubuntuにnginxをインストールして起動するまでの手順をまとめました。
動作環境
- Windows 10 pro [Windows 10 October Update (Version 1809) ]
- Windows Subsystem for Linux
- Ubuntu 18.04.2 LTS (Bionic Beaver)
Windows Subsystem for Linux 、Ubuntuのインストールについては以下の記事を参考にしてください。

nginxのインストール
パッケージにインストールされているバージョンの確認
[root@hostname /]$
apt-cache policy nginx
nginx:
  Installed: 1.14.0-0ubuntu1.2
  Candidate: 1.14.0-0ubuntu1.2
  Version table:
 *** 1.14.0-0ubuntu1.2 500
        500 http://ftp.iij.ad.jp/pub/linux/ubuntu/archive bionic-updates/main amd64 Packages
        500 http://security.ubuntu.com/ubuntu bionic-security/main amd64 Packages
        100 /var/lib/dpkg/status
     1.14.0-0ubuntu1 500
        500 http://ftp.iij.ad.jp/pub/linux/ubuntu/archive bionic/main amd64 Packages
パッケージをアップデートしてからインストールする
[root@hostname /]$apt-get update
[root@hostname /]$apt-get install nginx
nginxの設定を確認する。
確認の前に念のため、バックアップを取っておく。
[root@hostname /]$cp -p /etc/nginx/conf.d/default.conf /etc/nginx/conf.d/default.conf.org
デフォルトでは、以下の通りになっています。
[root@hostname /]$less /etc/nginx/conf.d/default.conf
server {
    listen       80;
    server_name  localhost;

    #charset koi8-r;
    #access_log  /var/log/nginx/host.access.log  main;

    location / {
        root   /usr/share/nginx/html;
        index  index.html index.htm;
    }

    #error_page  404              /404.html;

    # redirect server error pages to the static page /50x.html
    #
    error_page   500 502 503 504  /50x.html;
    location = /50x.html {
        root   /usr/share/nginx/html;
    }

    # proxy the PHP scripts to Apache listening on 127.0.0.1:80
    #
    #location ~ \.php$ {
    #    proxy_pass   http://127.0.0.1;
    #}

    # pass the PHP scripts to FastCGI server listening on 127.0.0.1:9000
    #
    #location ~ \.php$ {
    #    root           html;
    #    fastcgi_pass   127.0.0.1:9000;
    #    fastcgi_index  index.php;
    #    fastcgi_param  SCRIPT_FILENAME  /scripts$fastcgi_script_name;
    #    include        fastcgi_params;
    #}

    # deny access to .htaccess files, if Apache's document root
    # concurs with nginx's one
    #
    #location ~ /\.ht {
    #    deny  all;
    #}
}
使用するポート番号、ホスト名、ドキュメントルートを自分の環境に合わせて設定します。
「.htaccess」ファイルなどにアクセスされないように以下のコメントを外しておく
    #
    location ~ /\.ht {
        deny  all;
    }
管理者権限を使用してnginxのユーザーを作成する
[root@hostname /]$sudo adduser nginx
作成したnginxユーザーを管理者グループに所属させる
[root@hostname /]$sudo gpasswd -a nginx sudo
ドキュメントルート以下のフォルダ、ファイルの所有者を作成したnginxユーザーに変更する
[root@hostname /]$sudo chown -R nginx:nginx /usr/share/nginx/html/*
ドキュメントルートのフォルダのパーミッションを「777」にしておく
[root@hostname /]$sudo chmod 777 /usr/share/nginx/html
nginxを起動する
[root@hostname /]$service nginx start
* Starting nginx nginx                                                                    [ OK ]
nginxを自動起動を有効化にしておく
[root@hostname /]$systemctl enable nginx
Synchronizing state of nginx.service with SysV service script with /lib/systemd/systemd-sysv-install.
Executing: /lib/systemd/systemd-sysv-install enable nginx
ブラウザからアクセスして以下の内容が表示されてることを確認する
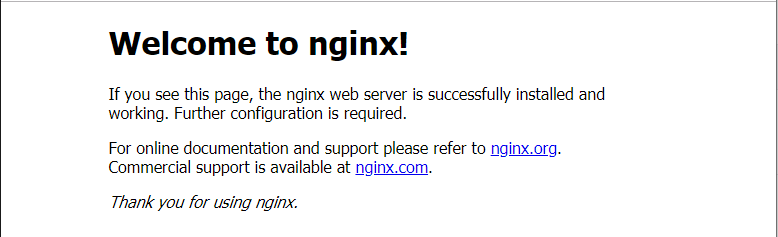
以上でインストール及び設定は終わりです。